ParaViewParaView is a parallel visualization package based on the VTK C++ library. ParaView supports client/server interactive mode as well as Python scripted batch mode. The server side of the application is a distributed memory MPI-based parallel application. In interactive mode, the server component runs on the Blue Waters compute nodes and communicates with a client program running on a user's local machine. In batch execution mode, the pvbatch server runs an analysis script, written in Python, on the Blue Waters compute nodes. No interaction is possible in batch mode. Batch executed instances save images or geometry on the Blue Waters file system for later viewing. Support for ParaView components is limited to server side programs on the Blue Waters system such as pvserver and pvbatch. The paraview client binary is not installed on Blue Waters. Using Paraview on Blue WatersTwo modes of operation are supported on the Blue Waters system. Interactive mode in which the user uses a local client GUI to interact with their data, and batch mode, in which the user runs a predetermined set of analyses on their data and views the result at a later time. Both modes of operation are described in more detail below. Interactive modeParaView operates interactively in a client/server mode. Blue Waters supports reverse connection of the server to the client over ssh. The paraview client version must match the pvserver version on Blue Waters. To see a list of currently available pvserver version on Blue Waters, enter:
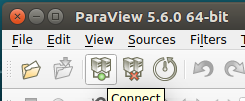
Obtaining a ParaView Client Recommended version: 5.6.0 ParaView clients can be downloaded from http://www.paraview.org/download/ Windows users will also need to install PuTTY and plink.exe from http://www.putty.org OS X users will need to install XQuartz and xterm from https://www.xquartz.org Connecting the ParaView Client to Blue Waters Start the ParaView application. Click on the Connect icon:
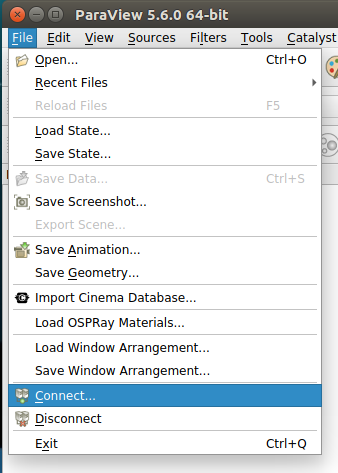
or go to File | Connect:
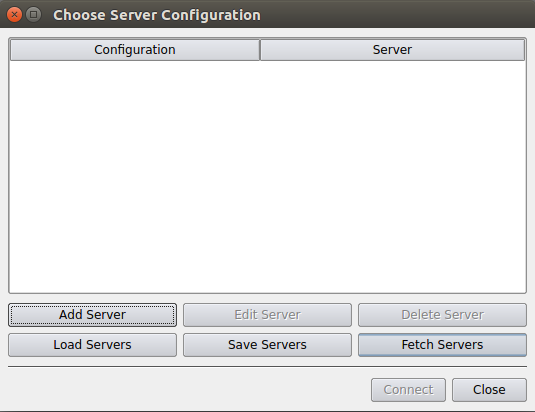
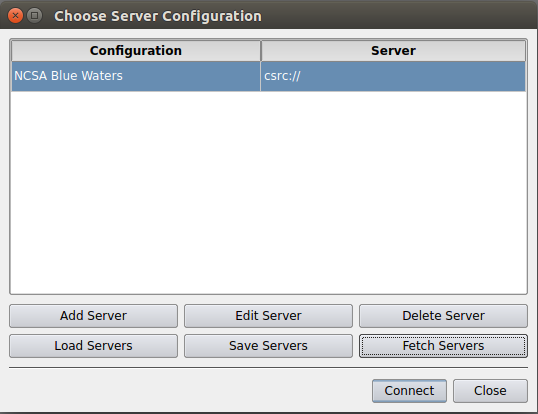
Either of these will open the Choose Server Configuration dialog window:
This will list any existing server configurations, but will be empty for a fresh client install. Click on the Fetch Servers button in the lower right. This will grab a list of publically avalable server configuration files from Kitware, Inc. and display them in the Fetch Server Configurations dialog window.
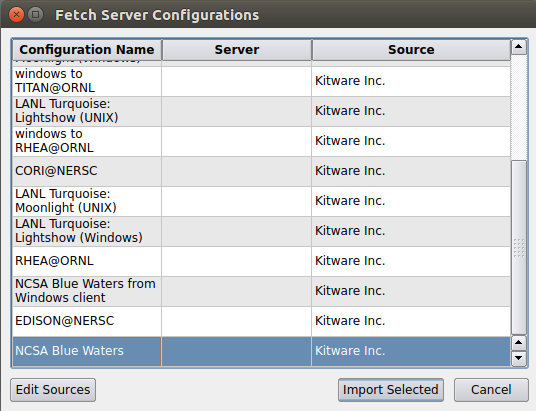
Scroll to the the "NCSA Blue Waters" (or Linux/OS X) or "NCSA Blue Waters from Windows client" option, select and then click on the Import Selected button. Note: Kitware has recently moved to https which may interfere with fetching server configurations through the client GUI. If this method just described doesn't work, try downloading the server config file directly from https://www.paraview.org/files/pvsc And then using "Load Servers" instead of "Fetch Servers." Either fetching or loading should end up back in the Choose Server Configuration dialog. Select the NCSA configuration and click Connect.
This will open the Connections Options dialog window:
All options are required, unfortunately failure will happen upon job submission instead of being checked by the client. Expiring allocations with grace period ending 3/31/2020:
On Linux, /path/to/ssh and /path/to/xterm are likely correct as is. On OS X, /path/to/xterm will need to be updated to wherever XQuartz installed xterm for example /opt/X11/bin/xterm. Note that the default Terminal application will not work because it does not launch as a standalone Unix-style binary. On Windows, this dialog will look slightly different.
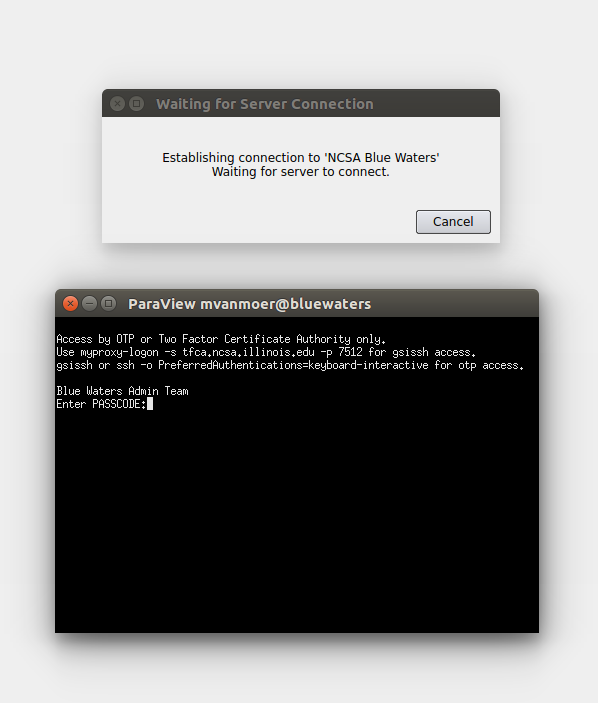
These paths may need to use the 8.3 version of the directory names if they contains spaces. E.g., if plink.exe was installed in Program Files (x86), the path may need to be given as C:\PROGRA~2\PuTTY\plink.exe. Once the options are filled in, click OK. The Connection Options dialog will close. Two new windows will open, a Waiting for Server Connection and a terminal window for entering in your Blue Waters pin + tokencode.
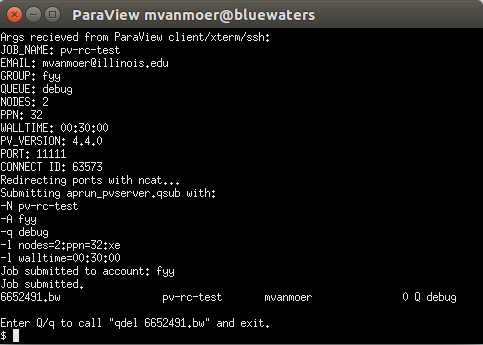
Enter your Blue Waters pin + tokencode and press Enter. The terminal will execute an SSH command to execute a remote script given the options. As this script is called and the job submitted to the selected queue, some debugging information will be visible in the terminal.
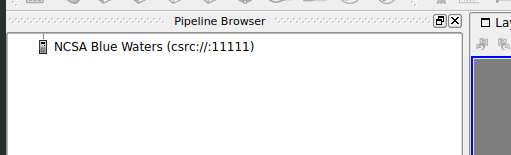
If the job was submitted successfully, the client will wait for a connection from the remote pvserver instance. Jobs will experience queue wait times the same as any non-visualization jobs. Once the job starts and the pvserver connects back to the client, the Pipeline Browser will display an icon showing that the client is connected to Blue Waters.
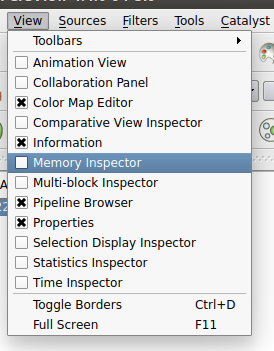
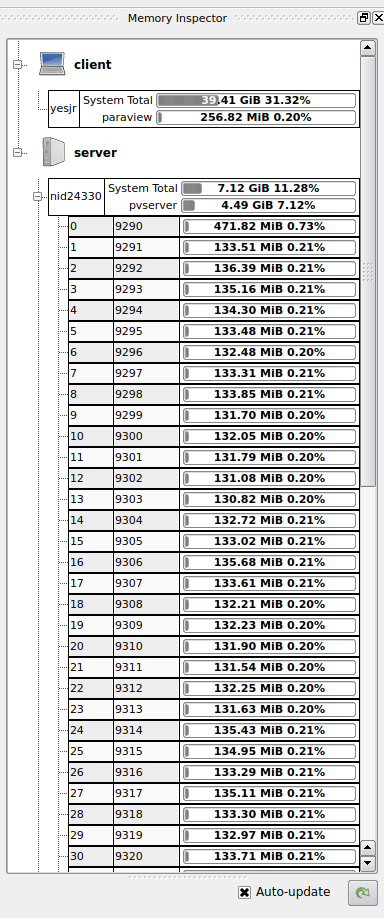
The Memory Inspector can be opened to verify that the remote server is indeed running with the requested number of processors. It can be opened from the client's View menu.
The Memory Inspector sits in a separate panel, which may be hidden behind another panel, for example, if the Color Map Editor is already open. The display will show the client computer and Blue Waters and will have a series of bars underneath each showing the percentage of memory usage.
Note that ParaView will not automatically distrubute serial files in most cases. The D3 filter can be used to naively distribute a serial file, but the preferred solution is to use a parallel file format. Another way to verify distribution of a data set across processors is to switch the coloring from the default scalar to vtkProcessId. Batch modeParaView batch scripts can be run with pvbatch in a regular job script. If you're familiar with vtkpython, note that pvbatch uses a different API based upon ParaView's proxy architecture. The best way to see the difference is to use the Tools | Start Trace feature in the client and inspect the output. Additional Information and Referrences |
Skip to Content


Blue Waters User Portal
Sign In


Blue Waters is supported by the National Science Foundation (awards OCI-0725070 and ACI-1238993) the State of Illinois, and the National Geospatial-Intelligence Agency.
Contact Blue Waters Team with questions regarding this page.
Copyright 2024 Board of Trustees of the University of Illinois. All rights reserved. Web privacy notice.